I love making crafts with children in therapy. It provides a great way to engage children in a variety of pre-academic and fine motor skills while working on objectives in language, listening, and speech. Making something beautiful in therapy gives children a “talking point” to show off to friends and family members throughout the week, encouraging carryover of target structures and social language skills. But as much as I love crafts, there are few things in the world that bother me more than when they’re… NAKED.
What do I mean? Naked crafts are works of art that are so beautiful, so carefully cut, so well thought-out, and completely, utterly, devoid of text and language. I don’t care if that’s the best coffee filter butterfly you’ve ever seen in your life. If it doesn’t come attached to a notecard explainging the speech, language, and listening goals that go along with it, you might as well chalk up the fifteen minutes you spent making it to wasted time. While the child’s parent or caregiver, who was in the session with you, might remember the goals that go along with it for a day or two after therapy (though that’s no guarantee, either), how is big brother at home supposed to know? Or the babysitter? Or his classroom teacher?
Here are some suggestions to clothe your crafts with language, and to get more bang for your buck when making things in therapy:
The making of the craft itself should be as clinician-planned yet child-controlled as possible. What do I mean by that? The clinician should “stage” the craft to create maximal opportunities for communication — and teach parents and caregivers to do the same. The glue you need is out of reach? Guess you’ll have to ask for that! The beads are too hard for you to do yourself? It’s self-advocacy time! Don’t know what this piece is called? Well, how do we find out the name for things we don’t know? That’s clinician-planned. And child-controlled? That just means that perfection is NOT our aim here. I like crafts to be as messy and disorganized as the child wishes. Teaching a child that there is a “just right” way to do art goes against the spirit of creativity and takes the joy out of experiential learning.
When I make a book with a family, I write GOALS: on the inside front cover with bullet points of what to remember to highlight when reading the book at home. For more on bookmaking in therapy, see HERE.
Attach a 3″x5″ index card to the back of crafts describing what it is (if not clearly identifiable), and a few sentences about how the child made it, or questions that an observer could ask.
The simplest way to “clothe” a craft is just to label it “Child’s X” (for example, “Jonah’s Snowman”). While it’s not the most detailed explanation, in a pinch, you’ve worked on the child’s name, possessive -’s, and a noun label — not bad for two words!
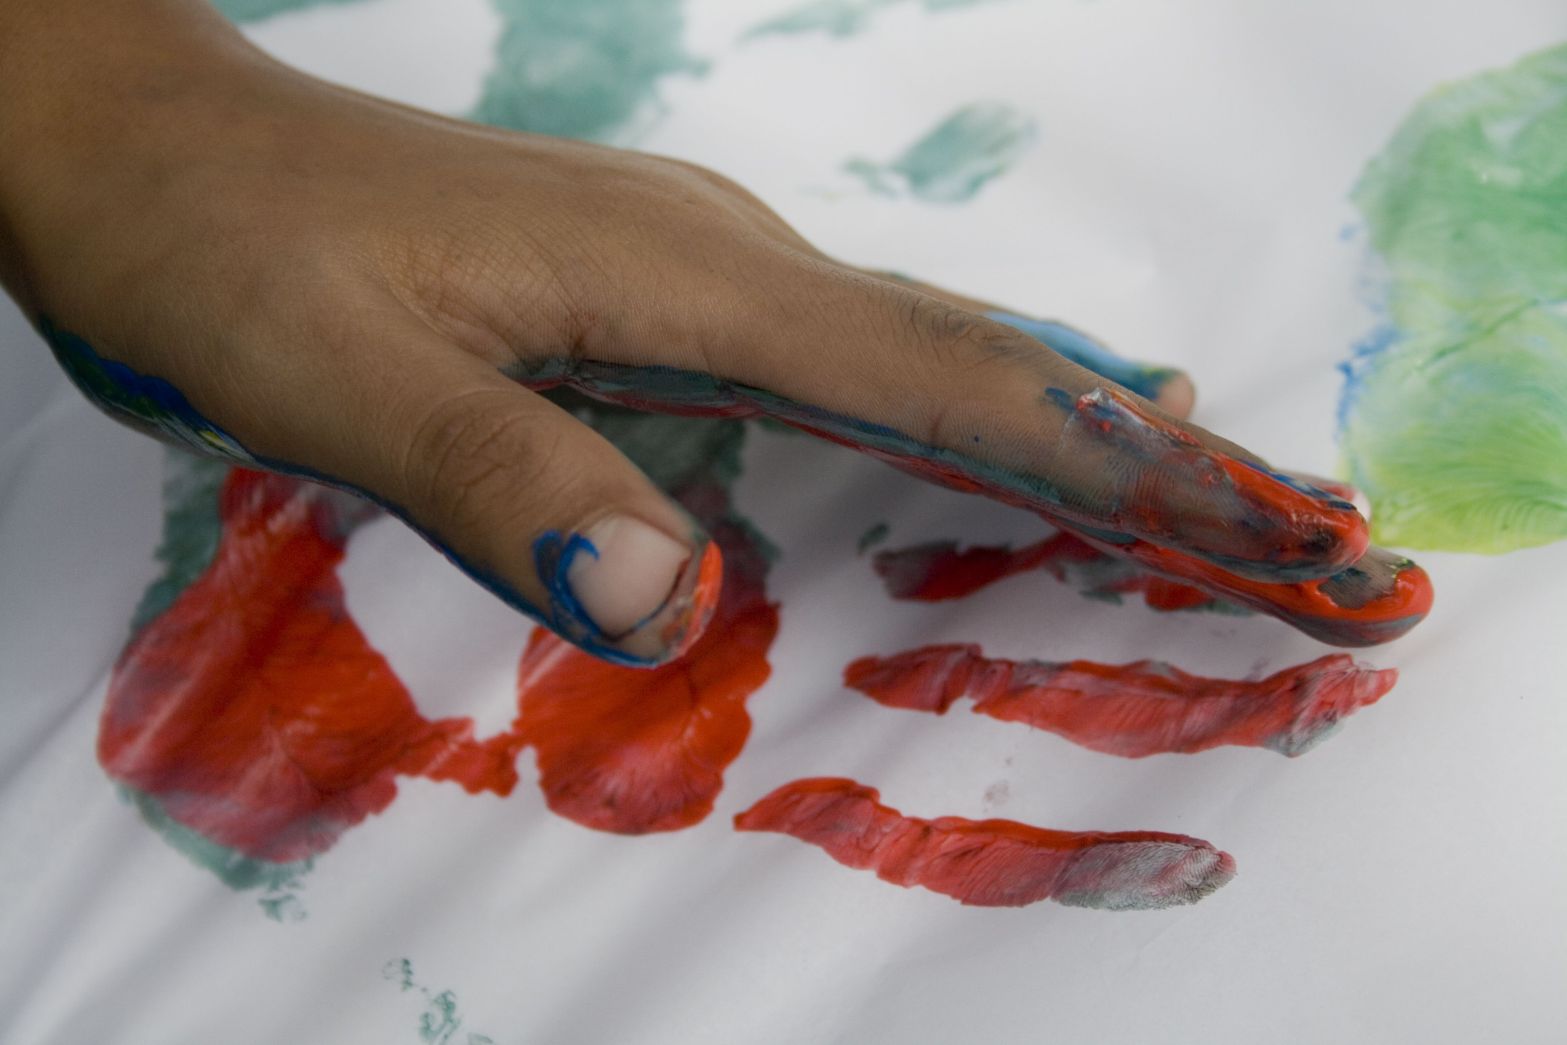
When a child produces an original work of art, say, “Tell me about it,” and write their narration on the paper, too. For example, if a three-year-old makes what looks to me like a scribble, I could say, in a very nonjudgmental way, “Tell me about it,” and then transcribe his narration, “It’s a tornado. The red paint is going ’round and ’round.” It is important not to interfere with the artist’s interpretation of his work, though I do make changes to what the child’s “raw” narration is to make it grammatically correct as needed.
Have the child rehearse “talking points” on his masterpiece before leaving therapy. Ask, “What did you make?” and help him formulate a socially-appropriate response at whatever his present language level (e.g. for a very young child, the answer to “What did you make?” might just be, “Dog,” while an older child would be expected to say, “I made a brown puppy with felt and glue.”)